-
3 Lessons Learned from Reopening An Elementary School in the Middle of a Global Pandemic
I’ve been an elementary school principal for seven years now. In the last three years we’ve endured the first Los Angeles teacher strike in thirty years and the first global pandemic in the last hundred years. Here’s my best advice on reopening after the thirteen month coronavirus closure. You have to be aware of trauma.…
-
Reading Remedies Now Available Free Online
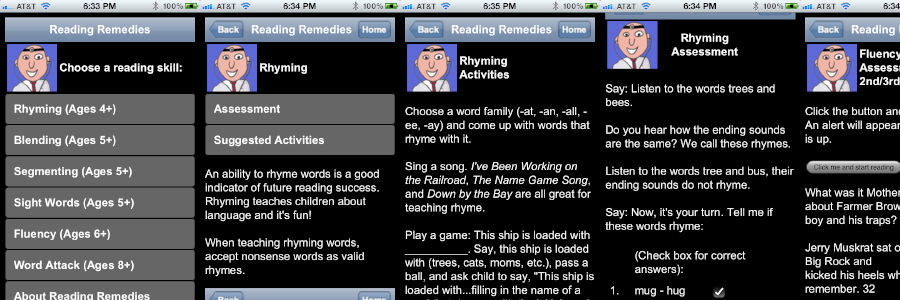
Reading Remedies, the iOS app I created to help teachers and parents diagnose potential reading difficulties and support students with fluency development is no longer available in the app store. However, I’ve made the app available online as a free web app. Check out Reading Remedies here. In 2011, the app store was already home…
-
The Right Way to Show Movies in Class

I like to think of myself as a proponent of using multimedia in the classroom to better engage students in the curriculum. I’ve amassed a large collection of movies from youtube, teachertube, itunes podcasts, and commercial DVDs that I show in frequent short bursts in the classroom with adults and children to help make my…
Contact Form
Leave a comment on the blog or send me an e-mail.
